To use this tutorial, you need to have previously read the tutorial on Linux remote desktop connectivity Click here.
Here are the step-by-step instructions for installing the FiveM™ server on Ubuntu Linux.
This step-by-step guide walks you through the installation and configuration of the FiveM™ server on an Ubuntu Linux system. The guide covers updating the system, creating server directories, downloading and extracting the necessary server files, configuring firewall settings, and using txAdmin to manage the server. By following these steps, you will have a working FiveM™ server ready for your gaming sessions.
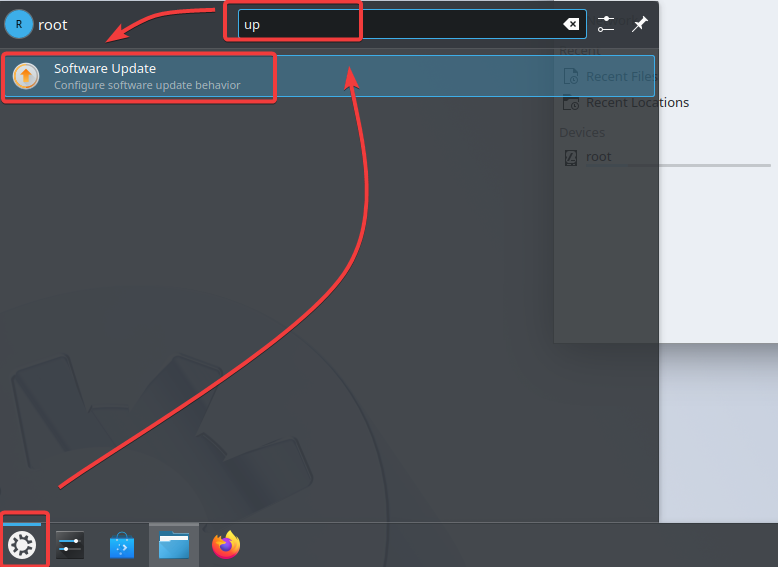
Step 1. Update the sofware
Open search and search for "software udate":
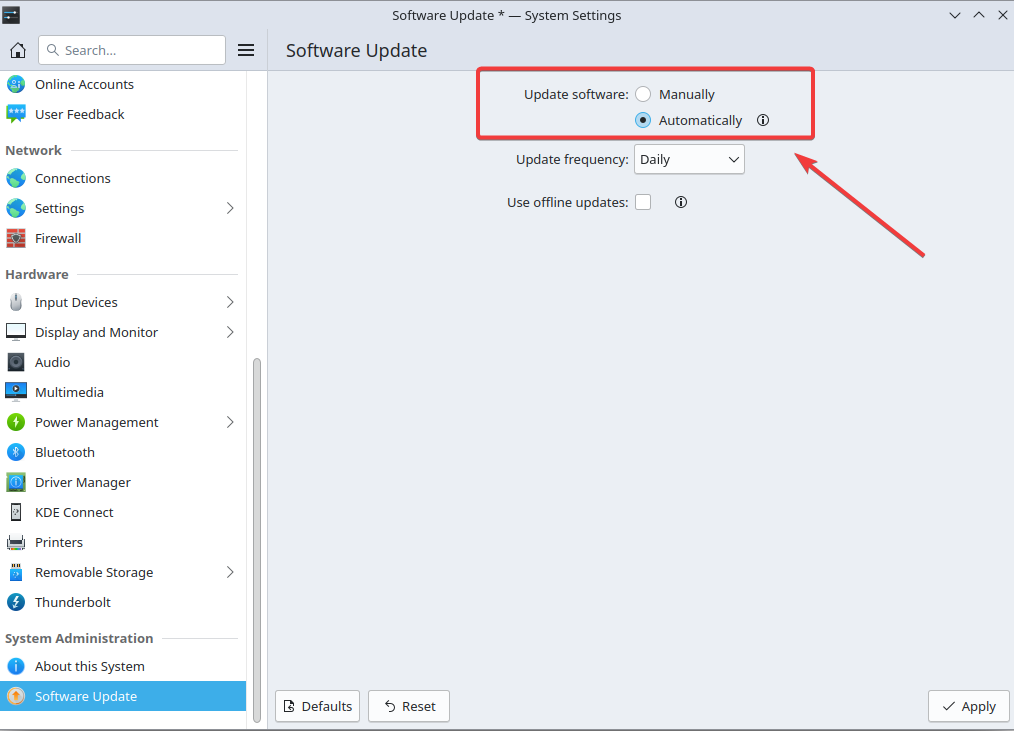
"Software Update" window choose the way u want to update your software click "Automatically" to have your operating system updated automatically and select your desired update frequency under "Update frequency".
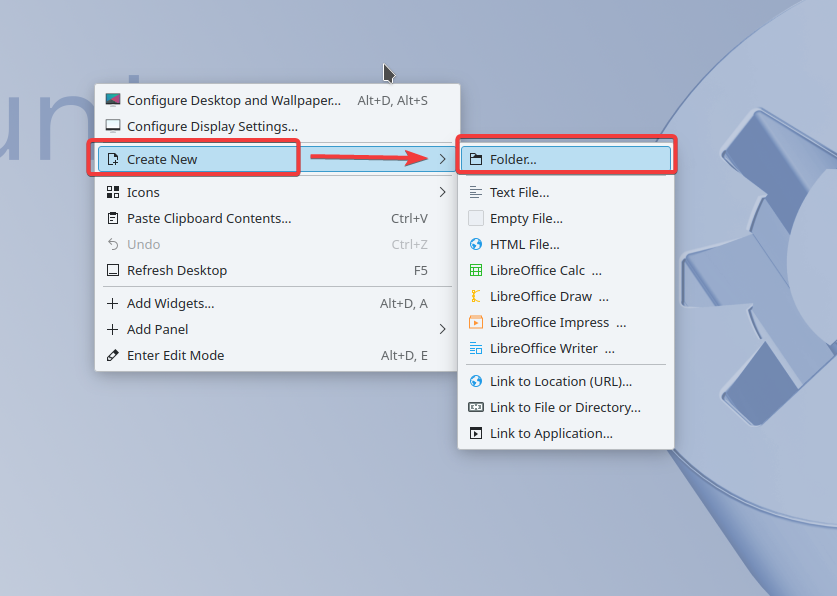
Step 2. Create a directory for your server and download the Linux version of FiveM™
To create a new folder on your Linux desktop, "right-click" on the screen, and a menu will appear. From the menu, select "Create New" and then choose "Folder".
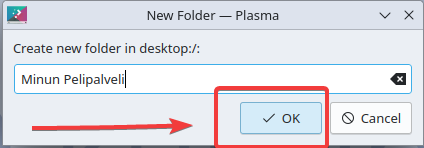
Then you will be presented with a folder naming window, name it for example "My Game Server" then tap "OK".
Then we will install the latest FiveM™ server file from the artifacts page open your browser on your Linux computer.
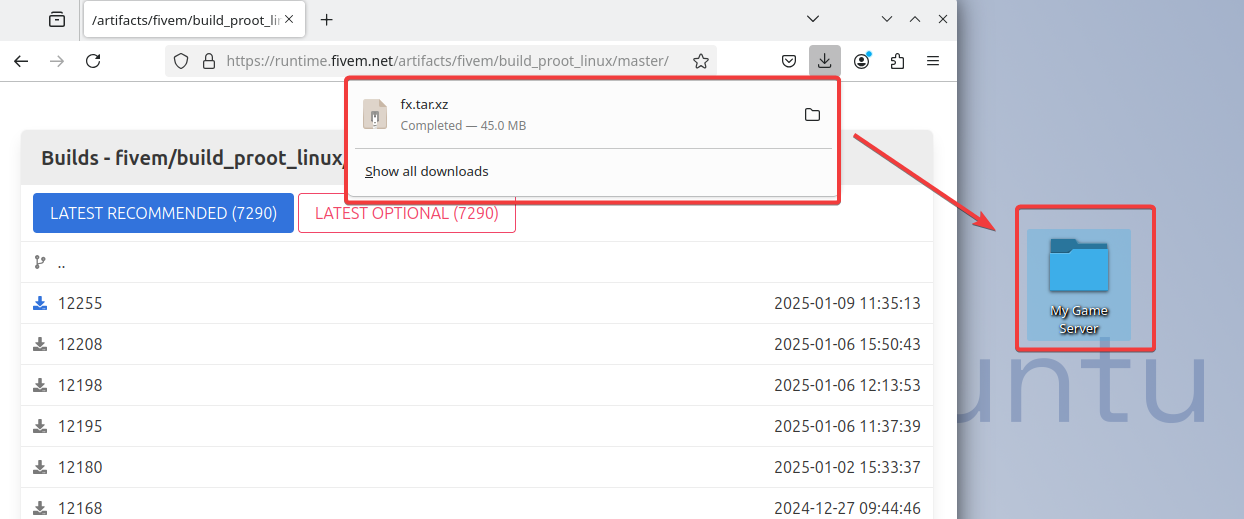
Open your browser and, go to the FiveM™ artifacts -website and download the Linux version of the FiveM™ server. From there, click on the latest version to download it and it should start downloading the compressed folder.
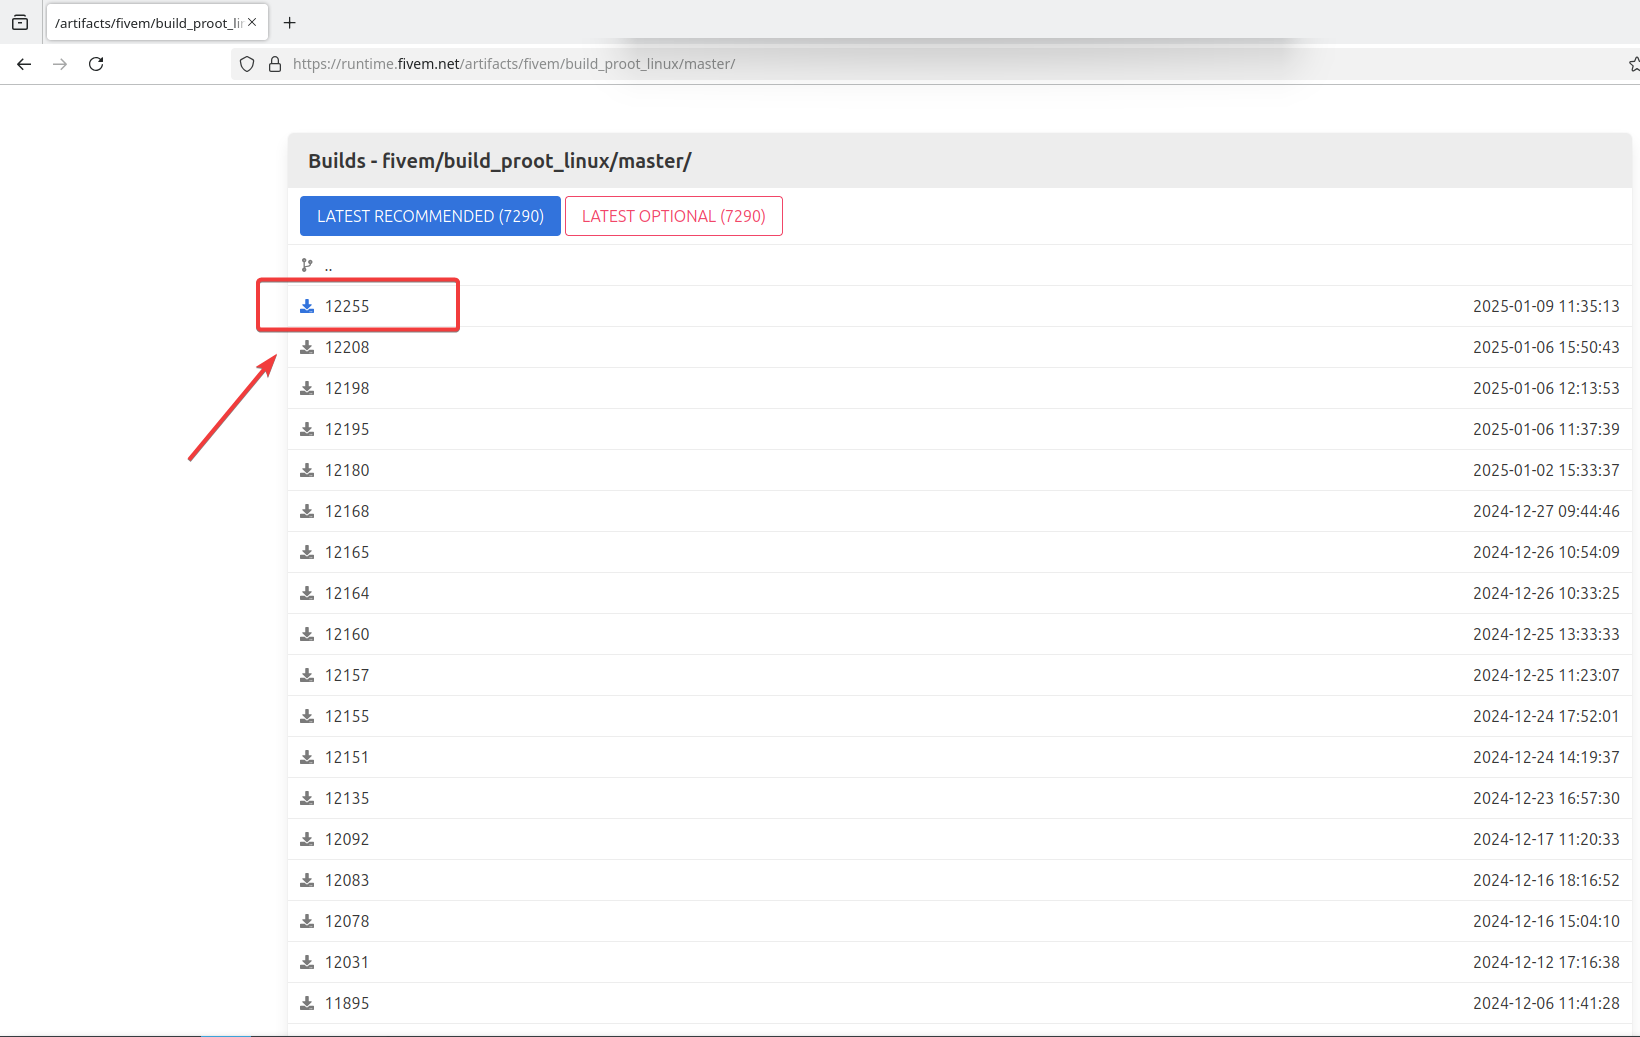
Once the file has downloaded, open the recent downloads in your browser from the down arrow in the top right corner and export the compressed folder to the "My Game Server"-folder.
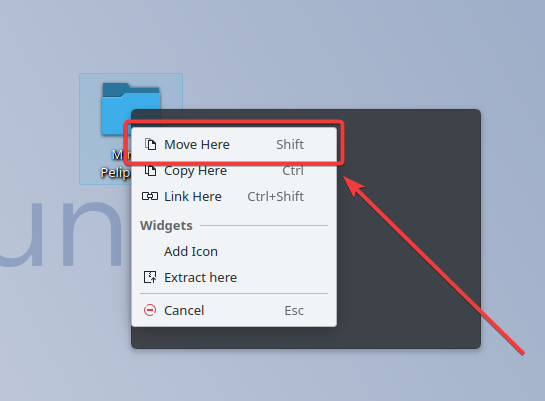
Once you have moved the file on top of the folder click "Move Here".
Once the file is in the folder do not close the browser it will still be needed for the next steps.
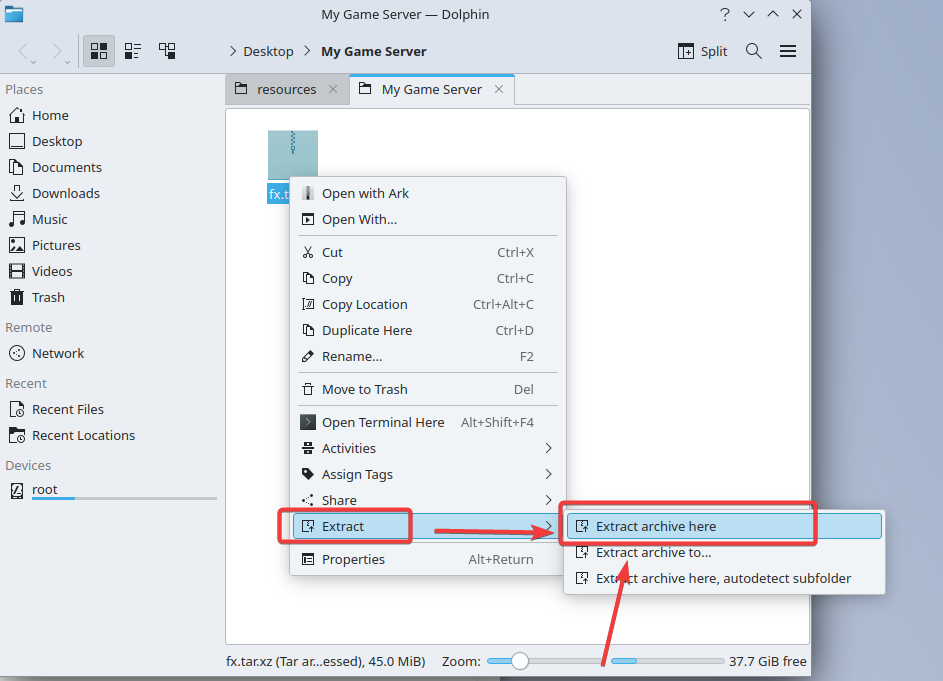
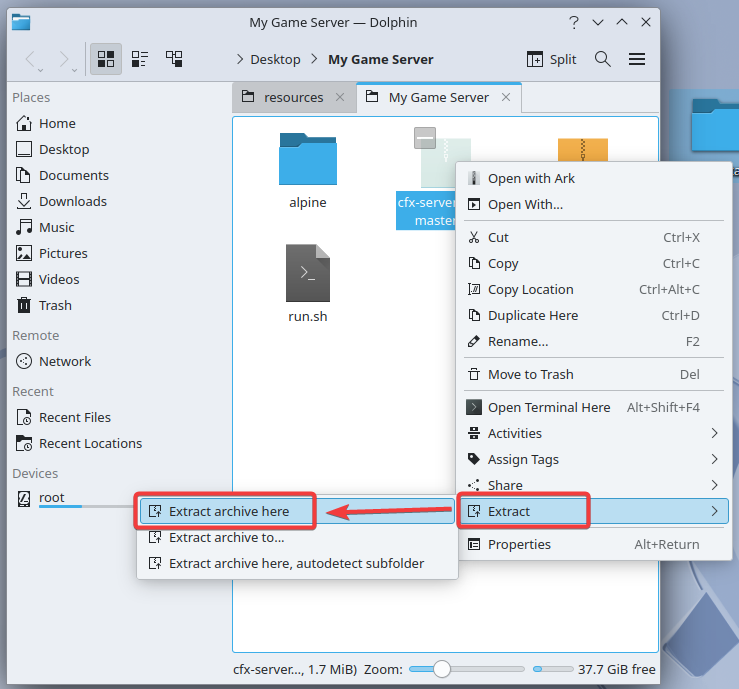
Next, open the "My Game Server" folder by double clicking on it so we can extract the folder then once you are in the folder right click on the compressed file you downloaded and from the menu that appears select "Extract" and from there "Extract archive here".
Step 3 Clone the server data files
With the terminal You can also download the files from the GitHub website and move them to the folder itself but now we'll do it the easier way via the terminal.
Open the "My Game Server" folder and upload the files there following the instructions below, open your own browser on Linux and paste the link to the file into the search field:
https://github.com/citizenfx/cfx-server-data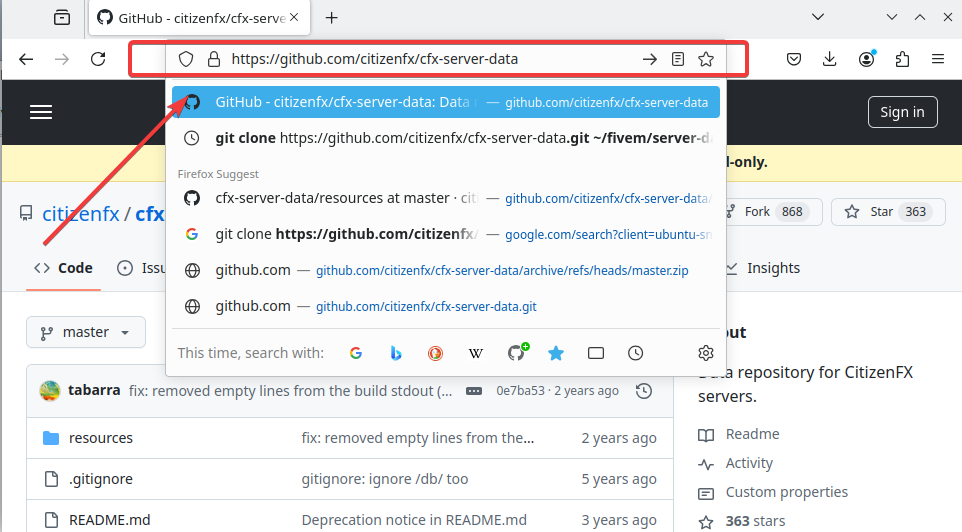
Once you have reached the installation page left click on the "Code" button and in the next menu click on the "Download ZIP" button.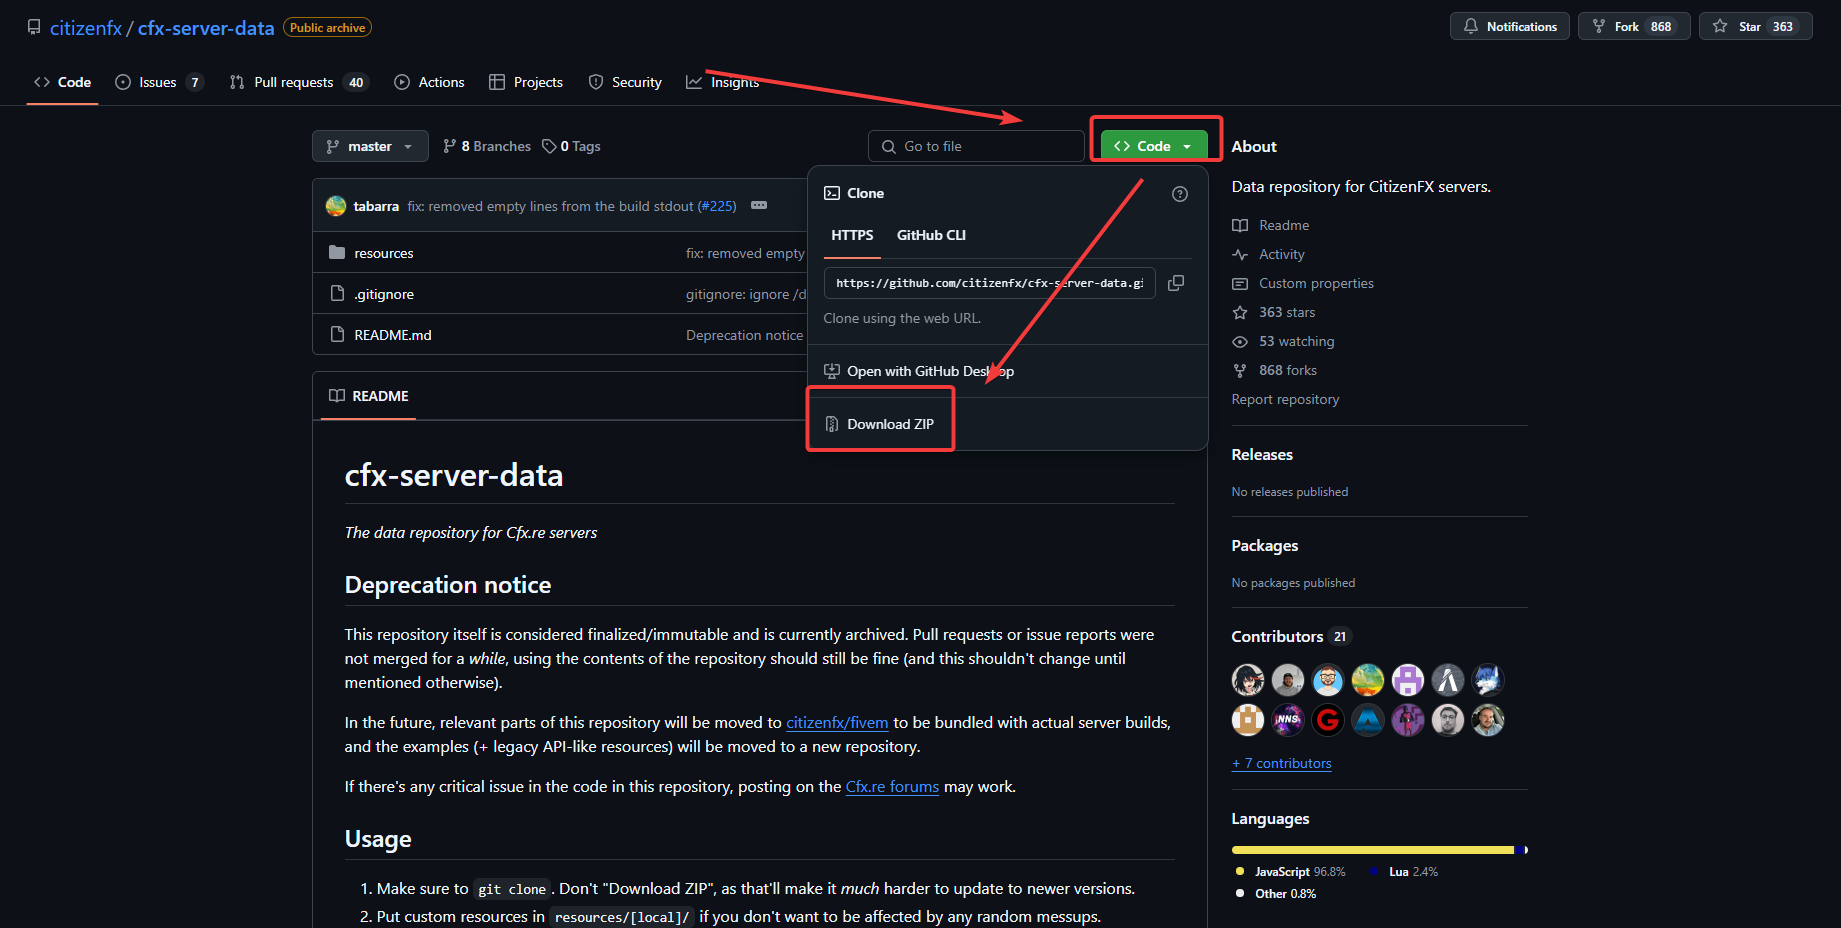
Transfer the file to the "My Game Server" folder you created.
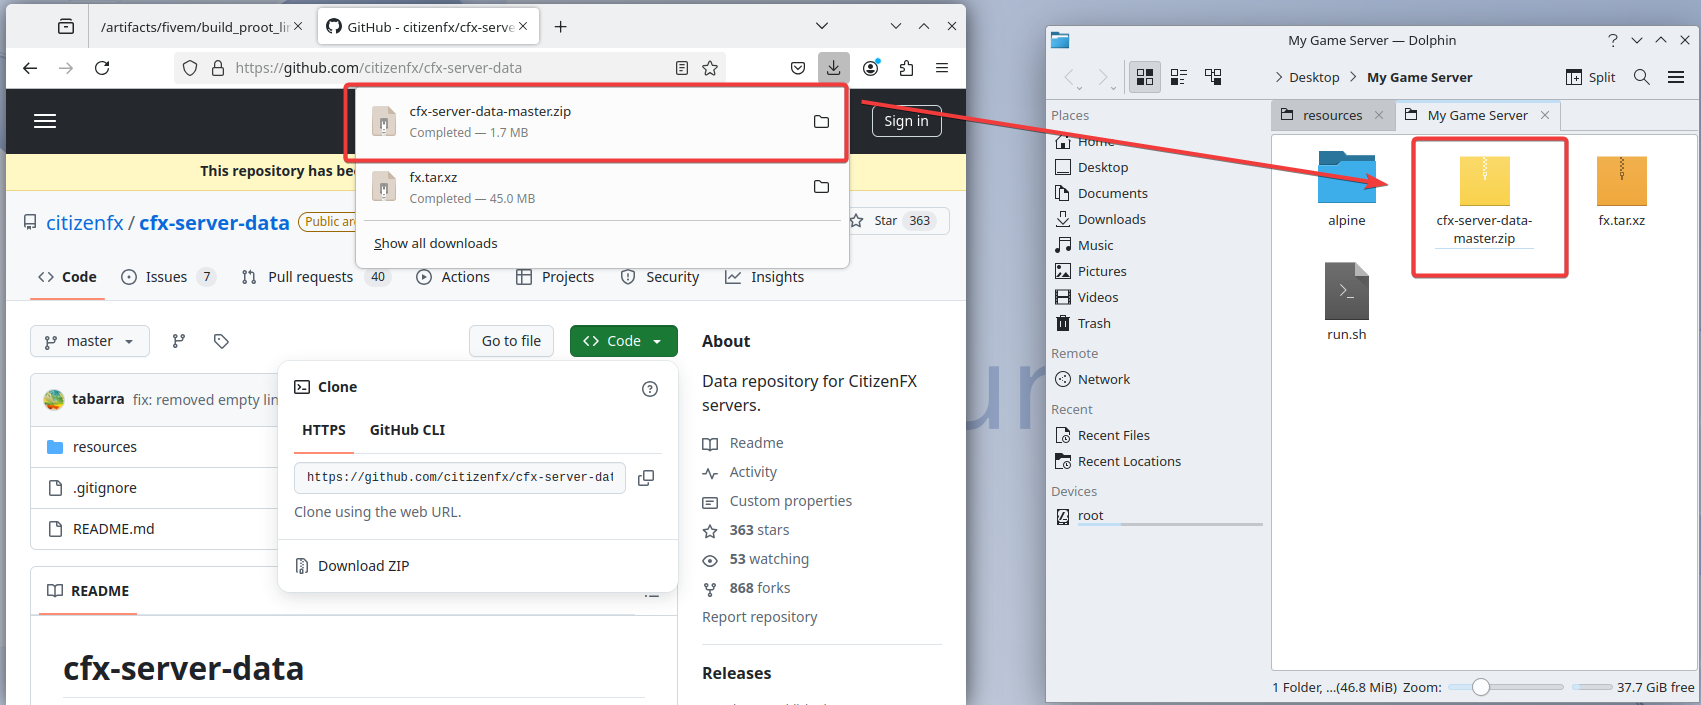
Then extract the file to "My Game Server" by first right clicking on the "cfx-server-data-master.zip" file.
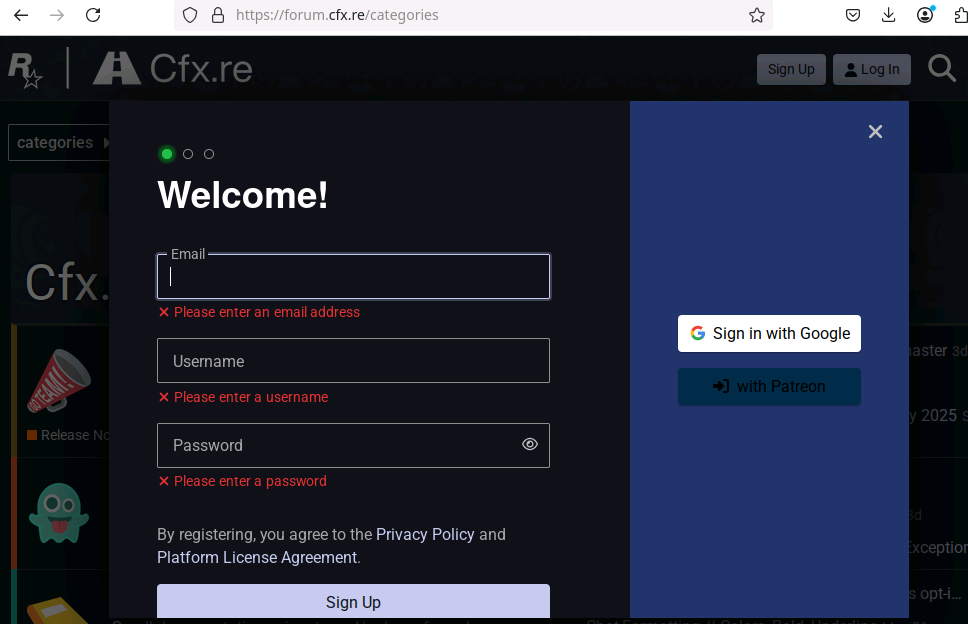
Get a licence key:
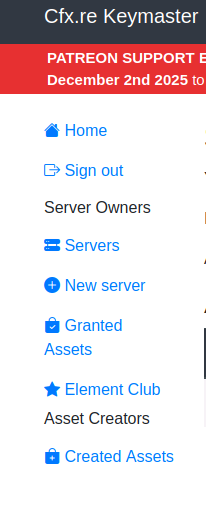
Go to the Keymaster website and log in.
After you have logged in to keymaster create a new license key by clicking new server after that. Fill out the required fields:Server Name: Enter name for your server.
IP Address: Enter your VPS public IP address Click Generate / Create to get your license key.
Step 4 Configure the Firewall (open necessary ports)
Go to terminal and run the following commands:
sudo ufw allow 30120/tcp
sudo ufw allow 30120/udp
sudo ufw allow 40120/tcp
sudo ufw reload
Verify the rules are active:
sudo ufw status
step 5 Create Configuration File
Open my game server folder and create a new text file named server.cfg Open the file.
In a text editor, either in the terminal or in a graphical environment, add the following content to the file:
sv_hostname "My FiveM Server"
endpoint_add_tcp "0.0.0.0:30120"
endpoint_add_udp "0.0.0.0:30120"

# Start basic resources
start mapmanager
start chat
start spawnmanager
start sessionmanager
start fivem
start hardcap
start baseevents

sv_licenseKey "PASTE_YOUR_LICENSE_KEY_HERE"
sv_maxclients 32
sv_enforceGameBuild 3095
Remember to replace PASTE_YOUR_LICENSE_KEY_HERE with your own license key that you obtained from the Keymaster website.
Step 6 start the server
Start the server with this command:
bash run.sh +exec server.cfg
If everything is correct, the terminal will start showing logs
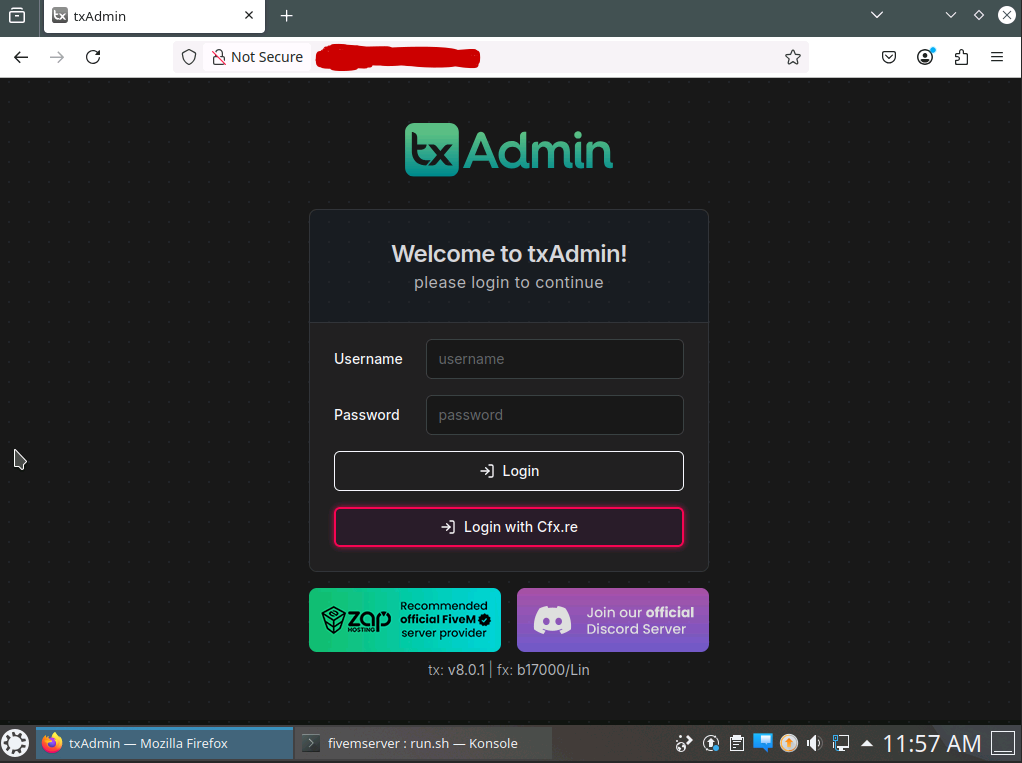
step 7 access txAdmin Web Interface
txAdmin lets you manage your FiveM™ server through a web interface.
After running the previous command, the terminal will show a PIN code. Open your browser and type:
http://YOUR_SERVER_IP:40120
(replace the server IP with your server IP) After that you can log in to your fivem server in rxAdmin with your log in credentials.